AI Voice-Over for E-Learning: A Lesson Production Guide
Create clear e-learning narration with scripts, pronunciation notes, manageable audio segments, and a review process that keeps lessons and transcripts aligned.
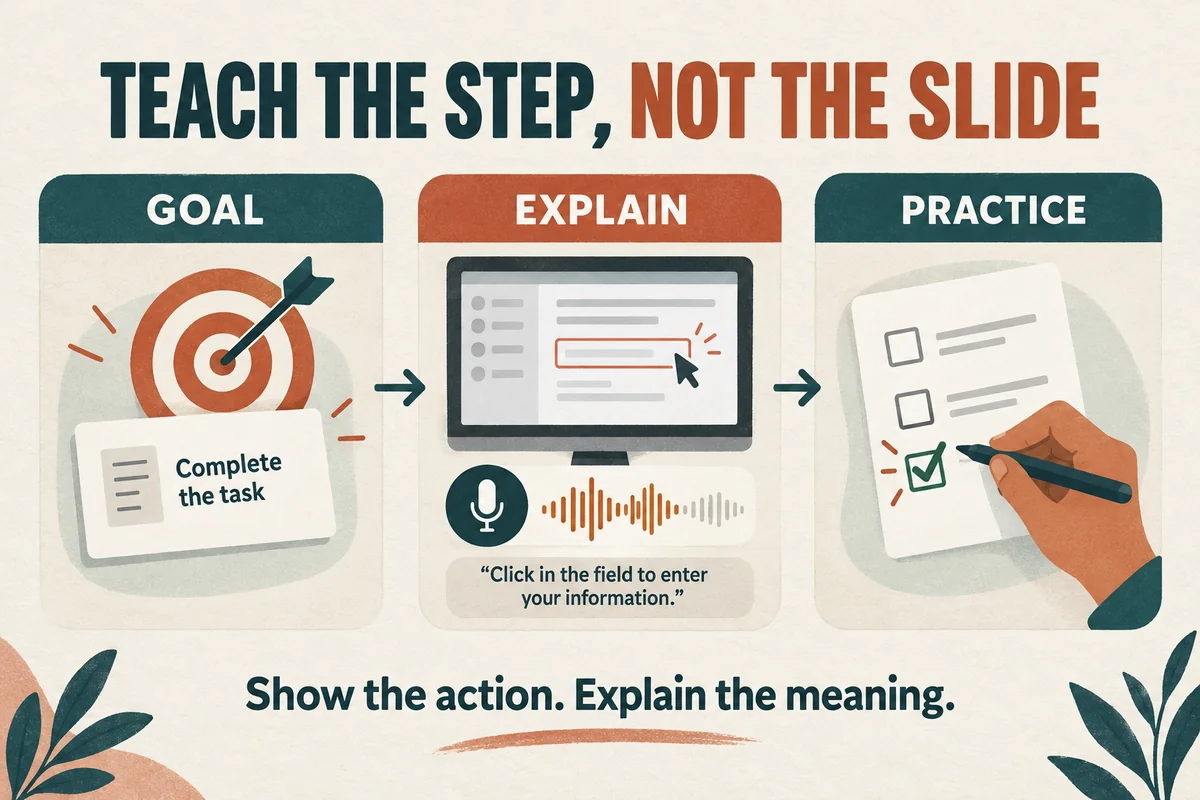
Use AI voice-over for e-learning by writing narration around what learners need to do, producing small sections that match the lesson structure, and reviewing the audio inside the finished course. Reading every word from a slide is rarely the best starting point for a spoken explanation.
This guide uses a fictional lesson about submitting an equipment request. The workflow applies to onboarding, software tutorials, internal training, and other lessons where a learner needs a clear explanation followed by a useful action.
Start with the learner's decision
Write one sentence describing the lesson outcome: “After this lesson, the learner can submit a complete equipment request and identify what happens next.”
Now identify what the audio must contribute. A screen can show the form, while narration explains why a field matters or what to do when information is missing.
Weak opening: “Welcome to module three of our comprehensive request system training.”
Stronger opening: “Before you submit an equipment request, gather the item name, the team that will use it, and the date it is needed. We'll use those three details to complete the form.”
The second version tells the learner what to prepare and creates a reason to continue. Keep administrative information in the course interface unless it needs to be spoken.
Separate narration from screen text
Create a three-column script with scene ID, visible content, and spoken content. Add production notes in a separate field so they do not accidentally enter the generated audio.
For the fictional request form:
- Visible: a field labeled “Needed by.”
- Spoken: “Enter the date your team needs the item, rather than the date you are filling in the form.”
- Production note: pause the demonstration while the date field is highlighted.
This approach gives the voice a distinct teaching role. It also makes later updates easier: if a button label changes, you can locate the relevant scene.
Avoid narration that depends entirely on position or color. “Choose the green button over there” becomes unclear when the interface changes or someone follows the transcript. “Choose Submit request” is more specific. If the visual itself conveys essential information, plan how that information will also be communicated.
For longer source documents, use the adaptation process in turn written guides into audio.
Plan pronunciation before producing lessons
List every product name, acronym, abbreviation, unit, and unfamiliar term. Decide which should be expanded on first use and which should be read as letters.
For example, an internal field called “PO ID” might need the narration “purchase order identifier” on first mention. Keep the actual field label visible so learners can connect the explanation to the interface.
Make a short pronunciation sample that contains the difficult terms. Have the subject owner approve it before producing the full course. If a spelling change helps generation, preserve both the display spelling and the spoken-input spelling in your notes.
Do not assume a generator accepts pronunciation markup or stage directions. Use controls the tool actually documents, and test the resulting audio. Plain-language script changes and a reviewed reference can solve many production problems without depending on unsupported syntax.
Produce audio at useful edit boundaries
Group narration by slide, screen, or coherent teaching step. Avoid tiny fragments that make every sentence feel disconnected, and avoid one enormous file that forces a full rebuild for a small correction.
A useful unit for the request lesson is “explain the date field,” followed by “review the request,” followed by “confirm submission.” Each can be reviewed and replaced independently.
Generate one representative scene and place it in the course authoring tool. Test whether the learner has time to watch the action and understand the explanation. A sentence that sounds comfortable alone may be too fast when paired with a moving interface.
Editing, screen synchronization, pause insertion, and course export happen in your editor or authoring tool. Keep them distinct from narration generation. This distinction helps the team assign work and avoids expecting a speech generator to produce a finished course package.
Review for teaching accuracy and access
Ask the subject owner to follow the lesson using the audio and interface. Check whether the spoken instruction matches the actual action, including error states and the point where submission becomes final.
Then review the lesson's text alternatives. W3C explains that captions for prerecorded synchronized media convey speech and meaningful non-speech audio; a transcript serves a different reading experience. Plan both according to the media you are producing. W3C guidance on prerecorded captions.
Keep captions and transcripts aligned with the approved audio, including last-minute edits. An early script is not automatically an accurate transcript of the final lesson.
Use an observable review task: “Submit a request for a replacement keyboard needed next Monday.” Record where the reviewer hesitates or needs an explanation that the lesson never gives. This is more useful than asking only whether the voice sounds professional.
Make the next update predictable
Attach a script revision, audio filename, and review status to every scene. When the interface changes, update the scene inventory before regenerating material.
For example, if “Needed by” becomes “Required date,” find the scene, revise the display reference and spoken explanation if needed, replace the audio, and check the captions. Review the adjacent scene to catch transition problems.
Maintain a short acceptance checklist:
- The learner knows the purpose of the step.
- Field names and actions match the current interface.
- Pronunciation has been reviewed.
- The audio leaves time for the demonstrated action.
- Captions and transcript reflect the released lesson.
- The final course plays correctly in its delivery environment.
Our voice-over quality checklist adds file and playback checks to that instructional review.
Start with one complete lesson segment in VocalCopyCat. Once its wording and pacing work in the course, reuse the production method for the remaining scenes.
Try Our Voice Clone Demo
Hear your words come to life
Choose a voice and try a short preview.
Listen to sample voices
Hear examples before choosing a voice. Generated results can vary with the script and reference sample.
Looking for another voice?
Explore the library and listen to a sample before you create.

Morgan Freeman

Stephen Hawking

Christiano Ronaldo

Donald Trump

Kokoro

Disney XD Announcer

Cute Japanese Girl
Vin

Adam Stone
Transform Your Content with AI Voice Technology Today
Try a short voice preview, then create speech and save your audio in a workspace built for your next project.
Generate Your Voice Now