
Podcast Voice-Over Loudness: A Practical Mixing Guide
Understand podcast loudness, true peaks, and voice-to-music balance. Follow a workflow for matching AI narration to interviews and final episode exports.
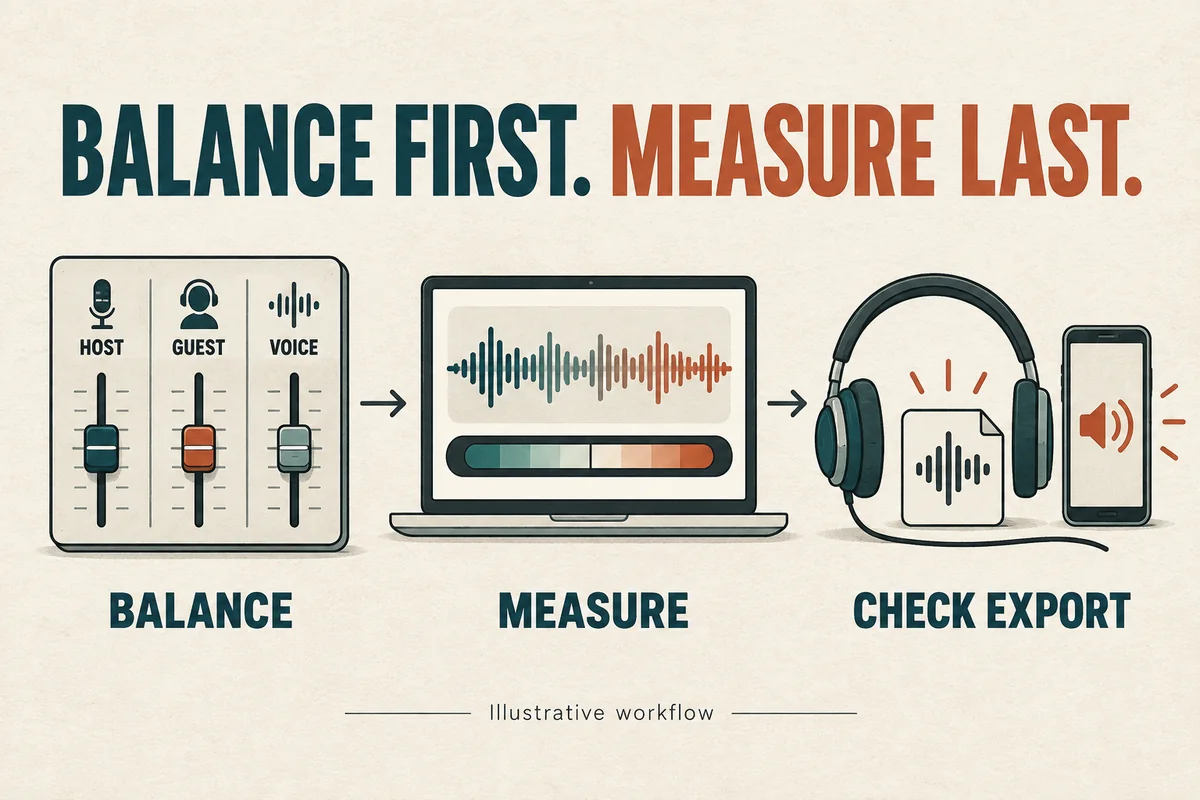
Match podcast voice-over loudness by balancing the spoken segments first, measuring the complete episode second, and checking the exported file last. Turning every clip up to the same peak value is not enough: a quiet interview and a dense announcer read can reach similar peaks while feeling very different.
Use your podcast host's and destination's specifications as the final authority. The workflow below explains how to make deliberate choices in an audio editor without assuming that a voice generator handles mixing or mastering for you.
Separate the measurements before changing levels
Three questions often get mixed together.
Integrated loudness describes the measured loudness over a selection or program. LUFS and LKFS are commonly used labels in loudness workflows; confirm what your meter and destination expect.
Peak level concerns the highest level reached. A true-peak meter estimates peaks in the reconstructed signal rather than checking only stored sample values.
Listening balance is the practical relationship among host, guest, narration, music, and effects. A compliant final reading does not establish that every sentence is easy to hear.
Apple recommends podcast audio around minus sixteen LKFS, within plus or minus one decibel, and a true peak no higher than minus one dBFS. It also recommends preparing levels before encoding. These are Apple's published recommendations, not a universal rule for every delivery channel. Apple Podcasts audio requirements.
Write the chosen destination and targets in your project notes. Avoid collecting numbers from several platforms and treating them as one combined specification.
Balance the conversation before the master
Import your narration and episode recordings into separate tracks. Keep an untouched copy of each source. Listen across transitions before adding effects.
Suppose the host is comfortable, the guest is softer, and the generated intro sounds much louder. Start by adjusting the relevant clips or tracks in the editor. Do not raise the whole episode to fix the guest: that also raises the already prominent intro.
Work through short representative sections:
- A normal host sentence.
- A normal guest response.
- The generated introduction.
- A quiet passage.
- The loudest laugh or emphatic phrase.
Compare these at a consistent playback volume. Aim for a conversation that can be followed without reaching for the volume control. Keep expressive differences when they serve the material; the goal is understandable speech, not identical waveforms.
If you need a revised introduction, our podcast intro and outro scripts provide openings that are easier to fit around real conversations.
Use normalization for the right purpose
Peak normalization changes gain according to a peak target. Loudness normalization uses a loudness measurement to determine the adjustment. Neither operation rewrites unclear speech or removes unwanted room sound.
Audacity's manual distinguishes its Loudness Normalization effect from peak normalization and describes options for perceived loudness and RMS. Read the documentation for your editor so you know which operation you are applying. Audacity Loudness Normalization manual.
Treat processing as a response to an observed problem. If one speaker has wide swings between soft and loud phrases, careful manual level adjustment or compression may help. If a short peak prevents a useful gain increase, examine that event instead of immediately applying heavy processing to the whole file.
After any processing, listen again. A meter can tell you that a target was reached while the voice sounds strained, pumping, or unnaturally flat. Bypass the effect and compare at a similar listening level so “louder” does not automatically win.
Make music support the words
Set music against actual speech rather than against an empty timeline. A music bed that feels subtle during a pause may obscure consonants once the narration begins.
Start low and bring the bed up only as far as the voice remains comfortably understandable. Check the show name, unfamiliar guest names, and the call to action. Those are poor places to trade clarity for impact.
Use your editor's automation or fades to lower music during speech and let it rise between sections when appropriate. Keep the transition gradual enough to suit the show. A dramatic sting may work in a story podcast and feel distracting in a calm instructional episode.
Also compare sections with and without music. If a clean voice sounds clear but the mixed version feels hard to follow, investigate the arrangement and music level before processing the voice more aggressively.
Measure and review the final export
Once the episode is assembled, measure the complete program with the meter reset. Make any final loudness and peak adjustments according to the chosen destination.
Then export a delivery file, reopen it, and check that file. Confirm the duration, channel configuration, start, end, and loudness readings. The exported asset is what the audience receives.
Use at least two playback contexts available to you, such as headphones and a phone speaker. This is a practical listening check, not a laboratory test. Pay attention to intelligibility at a comfortable level, especially where the generated voice hands over to a human speaker.
Do not repeatedly convert a delivery file to create new versions. Keep an editable master and create the required delivery exports from that source. Record the settings used so the next episode starts with a known process.
Diagnose common problems in order
The intro feels much louder than the episode. Compare the intro and the first conversation segment directly. Adjust the intro's balance before changing the program target.
The episode measures correctly but one guest disappears. Inspect local passages. Whole-program measurements can coexist with poorly balanced sections.
The mix sounds rough after making it louder. Compare with the untreated source and reduce processing. Check peaks and the exported file.
The music works on headphones but distracts on a phone. Revisit the bed level and the arrangement around speech. More voice processing is not always the answer.
Keep a short change log with the issue, action, and result. Our voice-over quality checklist turns that final review into a repeatable handoff.
Create the spoken material in VocalCopyCat, then finish and measure the assembled episode in your audio editor. Generation and delivery are two different stages, and giving each its own review prevents avoidable surprises.
Try Our Voice Clone Demo
Hear your words come to life
Choose a voice and try a short preview.
Listen to sample voices
Hear examples before choosing a voice. Generated results can vary with the script and reference sample.
Looking for another voice?
Explore the library and listen to a sample before you create.

Morgan Freeman

Stephen Hawking

Christiano Ronaldo

Donald Trump

Kokoro

Disney XD Announcer

Cute Japanese Girl
Vin

Adam Stone
Transform Your Content with AI Voice Technology Today
Try a short voice preview, then create speech and save your audio in a workspace built for your next project.
Generate Your Voice Now