AI Voice Over for Product Demos: Script and Timing Guide
Create useful product demo narration with an outcome-led script, accurate screen actions, consistent terminology, and a practical review process for updates.
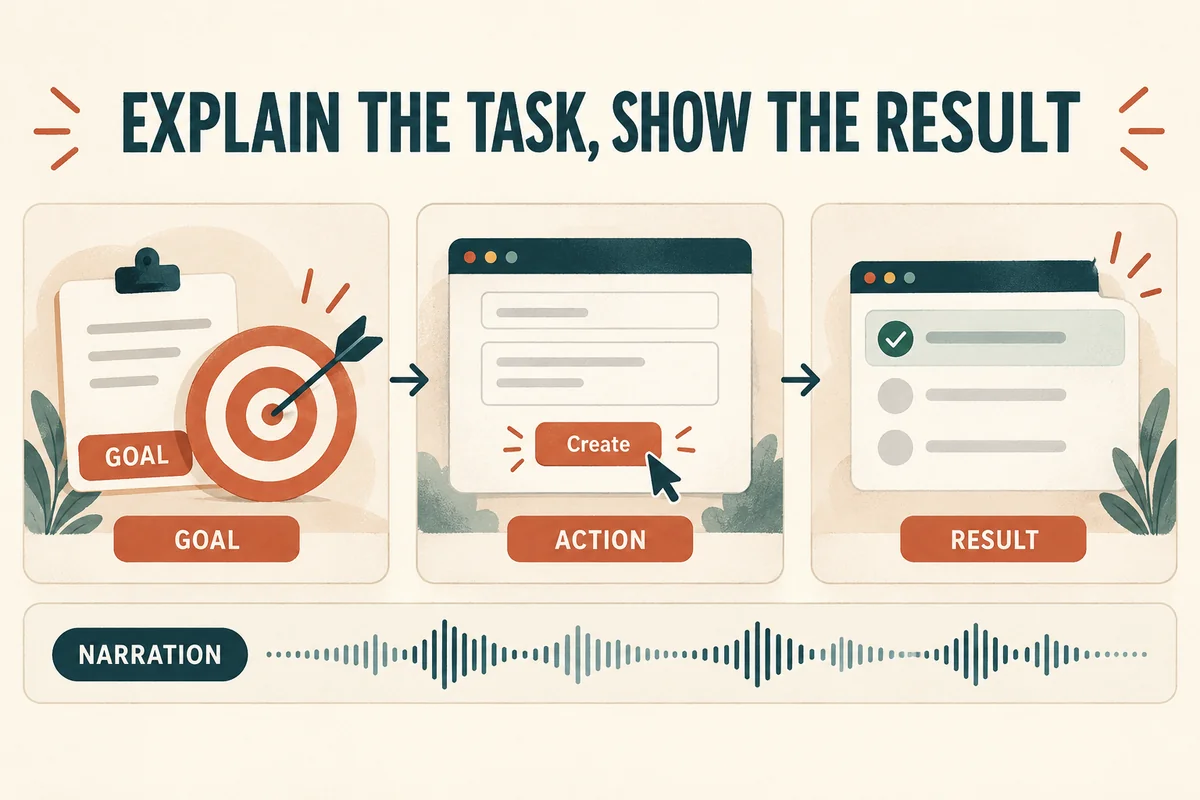
A useful product demo voice over explains what the viewer is trying to accomplish, why each action matters, and how to recognize success. Write around one real task, match the words to the current interface, and leave room for the viewer to follow the screen.
AI narration can make revisions easier, but the quality of the demo still depends on an accurate script and a well-planned recording. Generate the voice only after you understand the workflow you are demonstrating.
Choose an outcome a viewer can recognize
Start with a concrete result: “Create a project and find it again,” “Invite a teammate,” or “Export an approved report.” Avoid trying to introduce every feature in the first minute.
Write down the intended audience and starting state. A new user may need to know which page to open. An experienced user may only need the changed step.
State prerequisites before the demonstration. If the task requires an existing file, a particular permission, or prepared example data, make that clear. Do not let the viewer discover halfway through that their screen cannot match yours.
Use a safe demonstration account and sample data that you are comfortable publishing. A clean test workspace also reduces distractions and makes the sequence easier to repeat.
Build an outcome, action, result script
For each scene, write three pieces: the purpose, the action, and the evidence that it worked.
Example for a fictional project organizer:
| Purpose | Screen action | Spoken line |
|---|---|---|
| Start a new workspace | Open the creation form | “Create a workspace for this project.” |
| Make it recognizable | Enter a descriptive name | “Use a name the team will recognize.” |
| Confirm the result | Return to the workspace list | “The new workspace now appears in the list.” |
The narration adds meaning rather than reading every label aloud. It tells the viewer why the action matters and where to look afterward.
Keep stage directions in a separate column. Notes such as “highlight the field” and “pause for two seconds” belong to the production document unless you intentionally want them spoken.
Remove words the screen already explains
A common draft describes every movement: “Now move your cursor to the upper-right corner and click the blue button labeled Create.” Sometimes that level of direction is necessary, but often it can become “Choose Create.”
Use the saved words to explain a meaningful choice. “Choose a descriptive name so collaborators can find the project later” gives the viewer a reason, not just a location.
Avoid vague references such as “click here” when the location may be unclear. Name the control or action. If the layout changes later, a control name may remain useful even when the button moves.
Do not depend only on color. “Choose the green option” can be less informative than naming it. W3C's guidance on describing visual information explains why important visual meaning should be available in words.
Review each line with the screen hidden. You should still understand the task's basic sequence, even if some visual details require the video.
Standardize names and pronunciation
Product demos often contain brand names, acronyms, menu labels, and version numbers. Create a small glossary before generation.
Use the same term for the same object throughout the script. Switching between “workspace,” “project,” and “folder” can confuse viewers if the product treats them as different things.
Confirm the correct pronunciation of the product name and any specialist terms. Test them in complete sentences using the AI pronunciation workflow.
Keep normal spelling in captions and on-screen labels. If you use a generation-only spelling to guide pronunciation, store it separately from the approved reader-facing script.
Read important values back against the interface. A fluent narration that says “fifteen” while the screen shows “fifty” can undermine the whole demonstration.
Record a stable screen sequence
Prepare the interface before recording. Close unrelated panels, remove distracting notifications, and put the example data in the expected starting state.
Perform the workflow once as a rehearsal. Note loading delays, confirmation dialogs, and any steps that depend on account permissions.
Record the actions at a pace that can be edited comfortably. Leave a short hold before and after important changes. These holds give you room to place narration without freezing the video unexpectedly.
Avoid moving the cursor continuously while explaining a result. Let the viewer inspect the relevant part of the screen.
Then place the voice track and compare each instruction with its action. The voice-over synchronization guide provides a cue-sheet method for this stage.
Review as a new user would
Ask a reviewer unfamiliar with the draft to follow the demonstration. Give them the intended starting conditions and observe where they hesitate.
Useful review questions include:
- Did the opening explain what the demo would accomplish?
- Was any required step missing?
- Did the narration describe the screen that was visible?
- Were names and numbers correct?
- Could the reviewer tell when the task was complete?
Review the complete export, not only the editor preview. Check that the cursor, highlights, voice, and captions still line up.
Add captions using the AI voice-over caption workflow. Correct captions also make it easier for a reviewer to flag a specific phrase.
Make future updates manageable
Store the script, screen recording, audio segments, glossary, and caption file together. Name segments by task or scene so a changed feature is easy to locate.
Record the product version or review date in the production notes. When the interface changes, compare the actual workflow before deciding whether a tiny audio patch is sufficient.
A replaced sentence may require new screen footage and caption timing. Review the whole affected sequence rather than assuming the voice is the only changed asset.
Should a demo show every feature? Usually one complete task is more useful than a fast tour of many unrelated controls.
Can I generate the narration before recording the screen? Yes, as a draft, if you have verified the workflow. Finalize both together so the timing and wording match.
How promotional should the voice sound? Match the purpose. A teaching demo often benefits from a clear, patient delivery that helps the viewer complete the task.
Try Our Voice Clone Demo
Hear your words come to life
Choose a voice and try a short preview.
Listen to sample voices
Hear examples before choosing a voice. Generated results can vary with the script and reference sample.
Looking for another voice?
Explore the library and listen to a sample before you create.

Morgan Freeman

Stephen Hawking

Christiano Ronaldo

Donald Trump

Kokoro

Disney XD Announcer

Cute Japanese Girl
Vin

Adam Stone
Transform Your Content with AI Voice Technology Today
Try a short voice preview, then create speech and save your audio in a workspace built for your next project.
Generate Your Voice Now